Want to master your own music like the pros? Check out our comprehensive course Mastering For Producers 🚀
When I think about how to use a limiter, I remember back to the first tunes I ever finished.
Happy with the mixdowns, I would rush to upload them to Soundcloud, only to realize with horror that they lacked any loudness and punch when played right after somebody else’s track. Sound familiar?
If so, a limiter is likely missing from your toolkit. In this guide, we’ll cover everything you need to know about limiters, including:
- Understanding what a limiter is and how it interacts with sound
- The main controls at your disposal when using one
- When you should (and shouldn’t) use a limiter
- Some of the best limiter VST plugins out there (free and paid)
Let’s jump straight in and go through what a limiter is!
Is compression confusing you? 🤷
Get our one-page cheat sheet containing everything to help you understand ratio, threshold, attack, release, and all of the compression parameters with simplicity.
Table of contents
What Is a Limiter?
Concepts like compression, soft clipping, and limiting can often sound confusing as a newer producer. One of the reasons is that they lack the same instantly recognizable qualities as a delay or a reverb.
Another reason is that they are all derivatives of the same basic concepts.
Fundamentally, a limiter is a form of heavy compression, generally associated with compression with a ratio above 10:1 (if you need a refresher on compression, check out our Free Guide to Compression.)
It’s for this reason that people are always comparing a limiter vs compressor – they perform similar tasks and are based on the same processing.
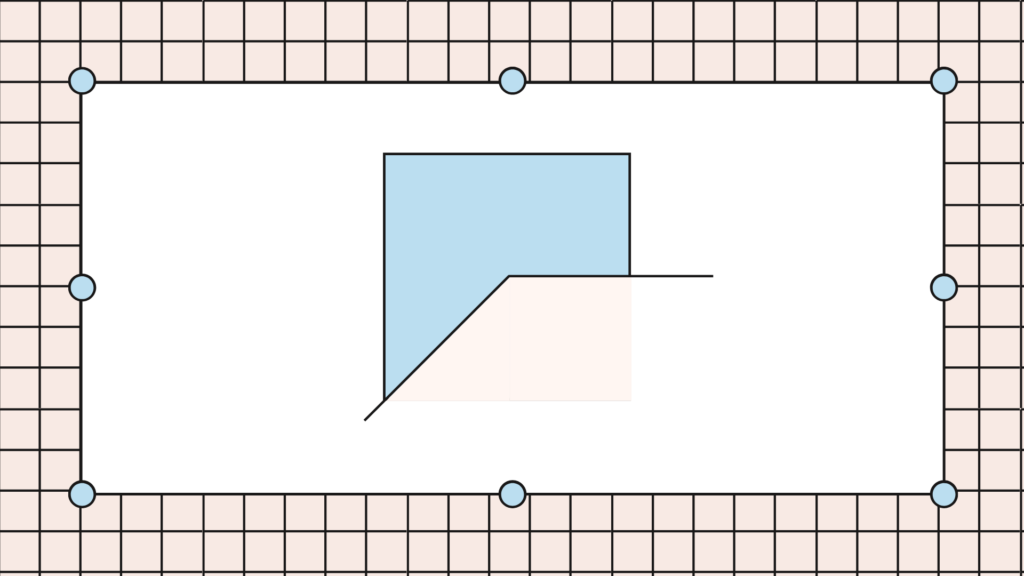
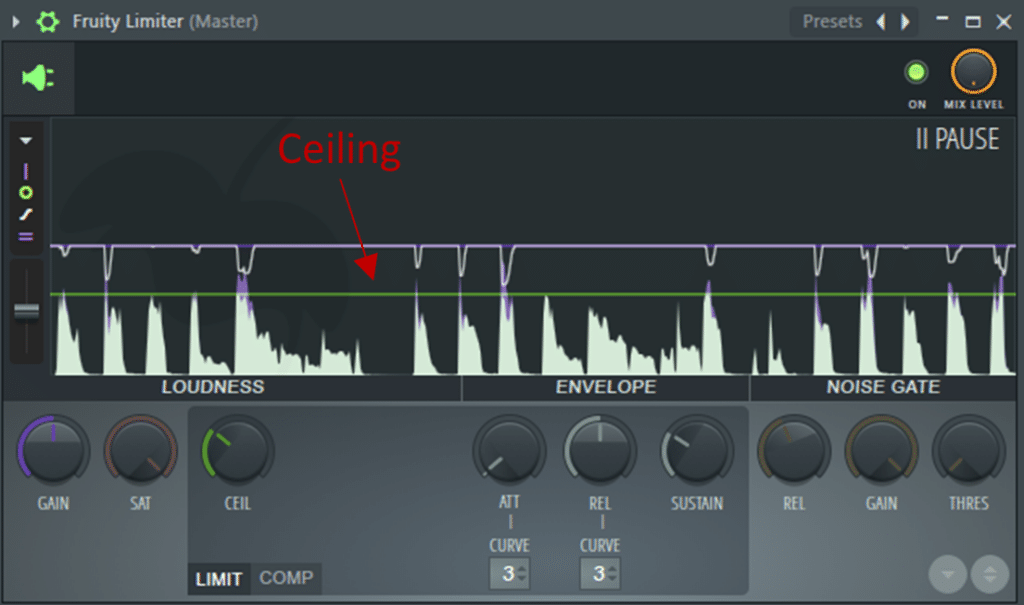
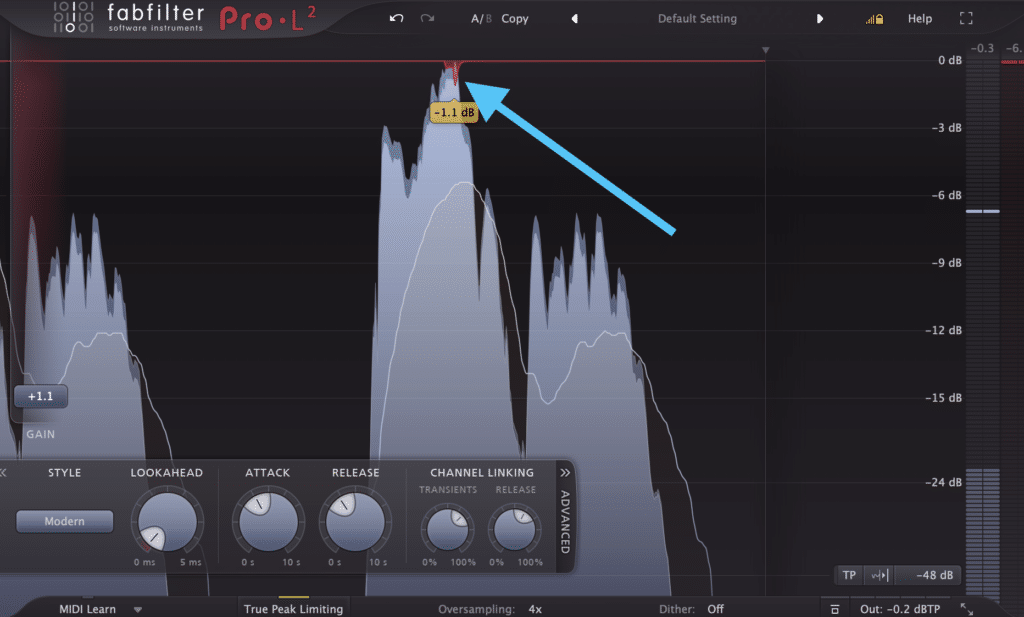
The purpose of a limiter is to “limit” (genius, I know) the output volume of a sound at a maximum level, called the ceiling.
You can think of a limiter as a tunnel. Any vehicle below the specified height will drive through with ease, but anything taller will get chopped off like in a Die Hard movie.
In practice, limiting is often used in the mastering chain to avoid the track clipping (i.e. going above 0db) and introducing unwanted distortion.
It also allows to maximize to overall loudness of the track, something the young producer in me wishes he knew earlier. This process is called brickwall limiting.
However, it can also be used in the mixing phase, which we will dive into later.
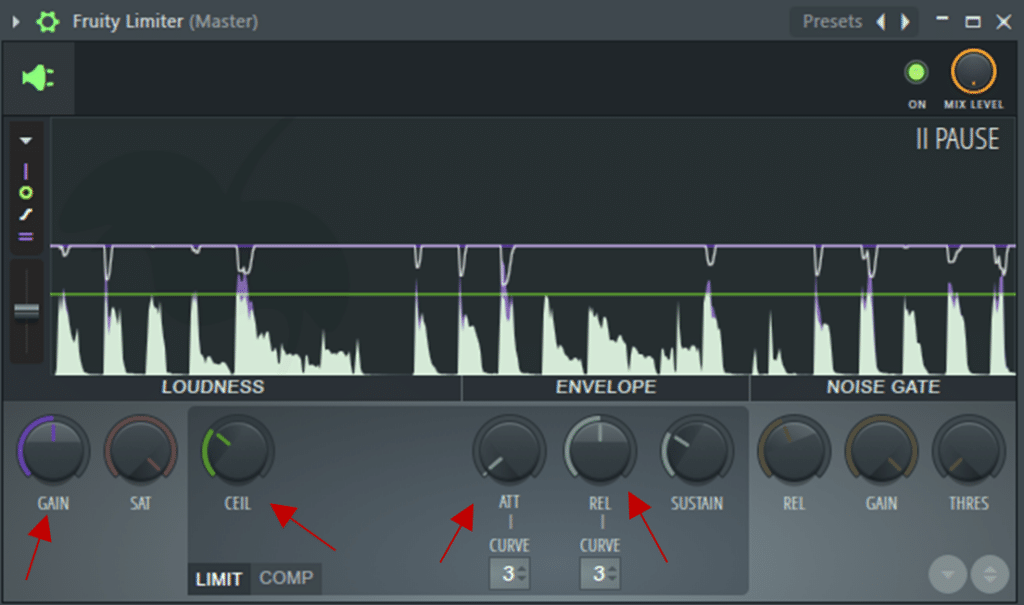
To understand how a limiter works, let’s look at the basic controls. I will be using FL Studio’s stock plugin for this guide, but most limiters will have the same functionalities.
The Basics of Limiting
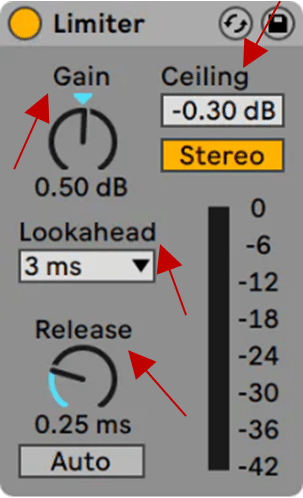
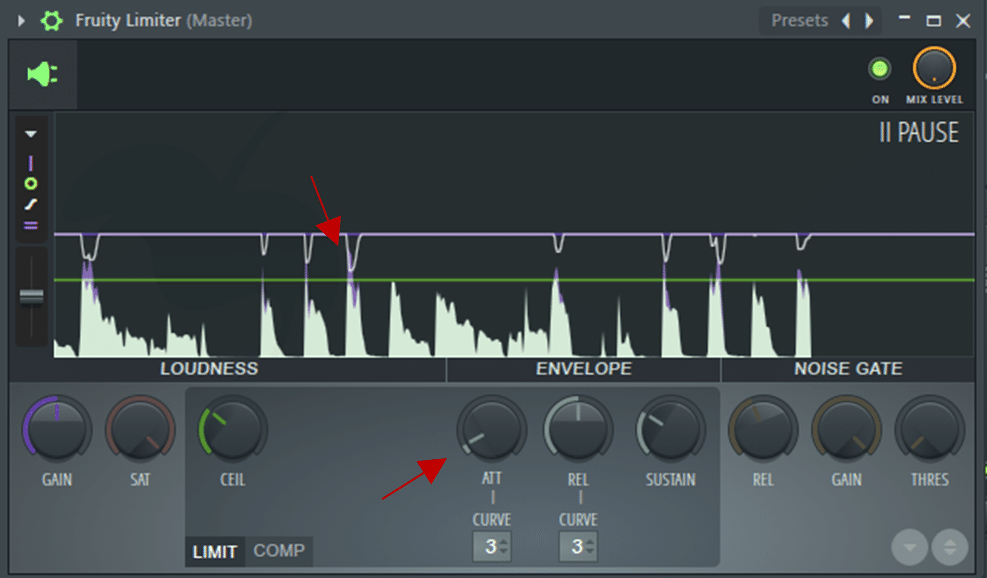
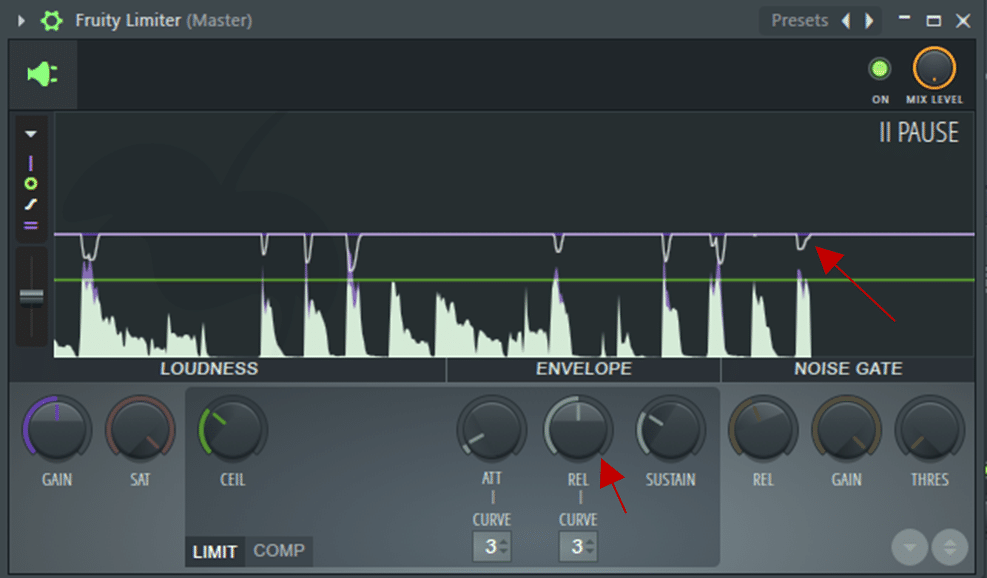
All limiters have 4 essential knobs: Ceiling, Gain, Attack, and Release. Let’s go through each of these one by one.
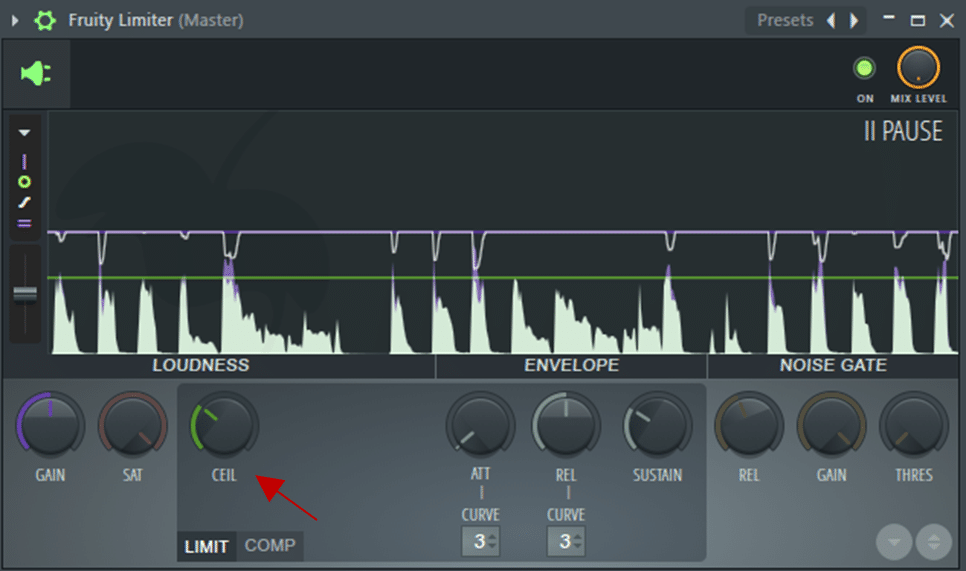
Ceiling
The ceiling determines the absolute maximum level that the limiter will output. On a mastering chain, this will generally be set at 0 or -0.1db to avoid clipping.
When used on an instrument channel, you can set the ceiling to any level that suits your needs. The important thing to remember is that the limiter will only be activated whenever sound peaks above that ceiling.
Gain
This controls the volume of input going into the limiter. By pushing the gain up while keeping a ceiling on the output, an increase in loudness can be achieved.
Printing to audio is a great way to see how your sound is being processed. Below you can see how the initial signal (green) is first limited to -6db (orange), and then increased in perceived volume through a gain increase of +6db (blue).
By the way, if you’re confused about the difference between gain and volume, check this guide out.
Attack
In ms. This controls how quickly the limiter responds to the input signal and limits it.
In Ableton, this function is called Lookahead, and although it is technically different from an Attack knob, it plays a similar role.
Release
In ms. This determines how long the limiter will take to stop affecting the signal once the input level is no longer above the ceiling.
Other Controls
Each limiter has its own distinctive features. Here are some of the most common ones that you might run into.
Audition Limiting
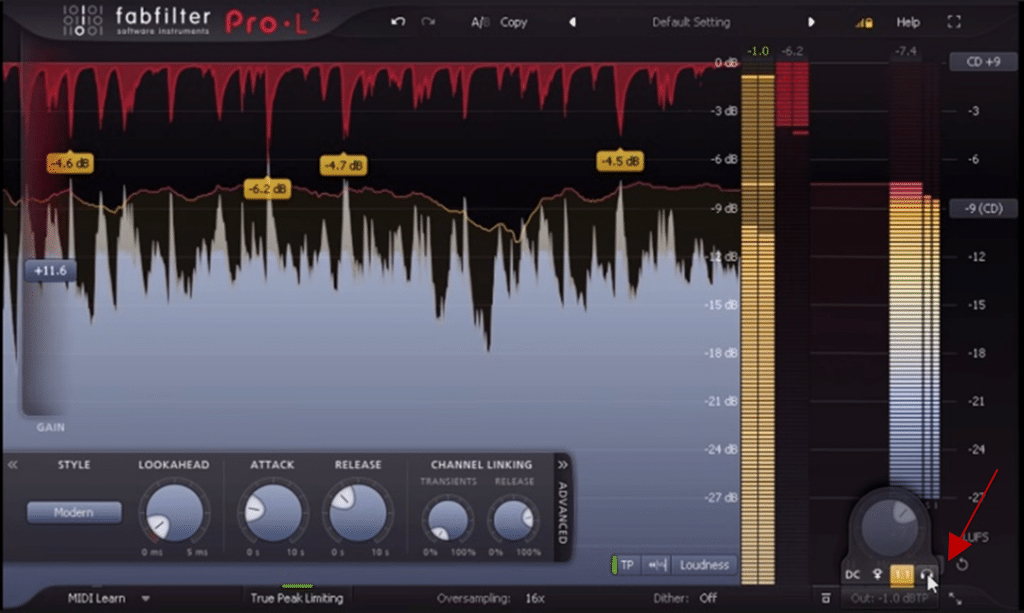
The FabFilter Pro-L 2 (more on that one later) has an Audition Limiting option that allows you to listen to the “delta” signal, i.e. the actual reduction applied to the input signal.
Stereo Detection
A limiter with a stereo option will provide the option for the independent processing of the L and R channels.
This means instead of treating the audio like one mono signal, it will catch peaks happening on each side of the stereo field independently.
Multiband Limiting
Fancier options such as the Waves L3-LL (more on that one later) provide multiband limiting, setting specific ceiling levels for each frequency band enabling a more balanced limiting result.
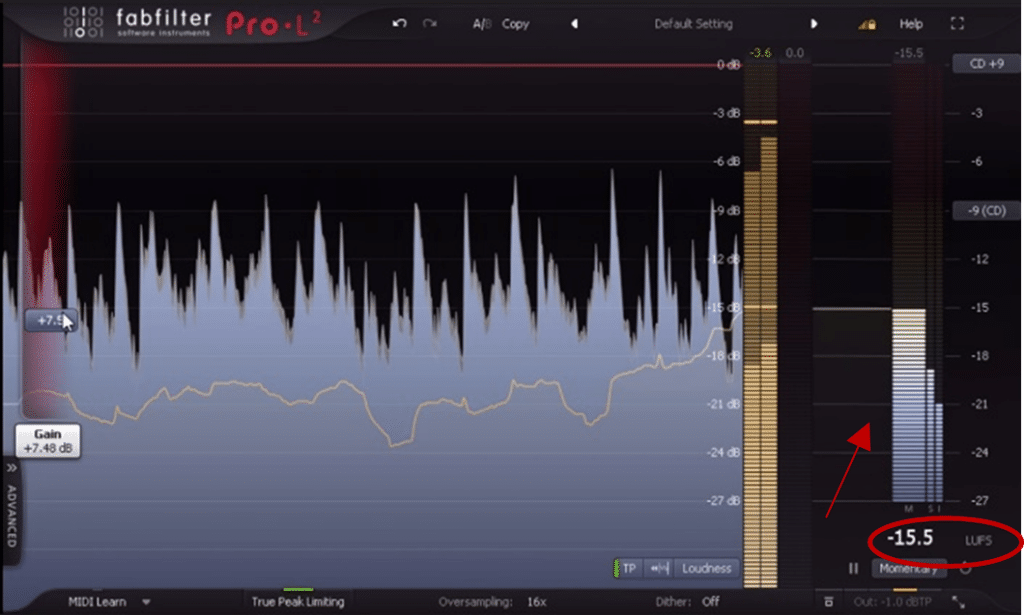
Loudness Metering
Metering is a visual aid telling you the overall volume of your output. Without getting into too much detail, the meter is typically measured in LUFS (Loudness Units Full Scale) and will tell you if your track is loud enough (or too loud) for streaming platforms.
5 Practical Applications of a Limiter
Although mastering is generally thought of as the main application of a limiter, there are many other instances when you may want to use one. Let’s dive into some of them.
Remember that if it sounds good, it sounds good, irrespective of if you have used a limiter in the “proper”way.
Mastering
A limiter is one of the most common tools used in the mastering chain to maximize the perceived volume of the track while avoiding any unwanted distortion.
To achieve this, the input signal is increased using the gain knob, while keeping the ceiling at -0.1db for example.
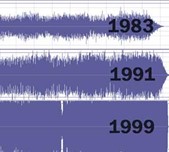
The result is a reduction in overall dynamics, but an increase in perceived volume. Be careful however to not overdo it by pursuing loudness to the detriment of dynamics.
The loudness war has been a much-debated topic over the last few years, so remember that louder doesn’t always mean better.
Vocal Peaks
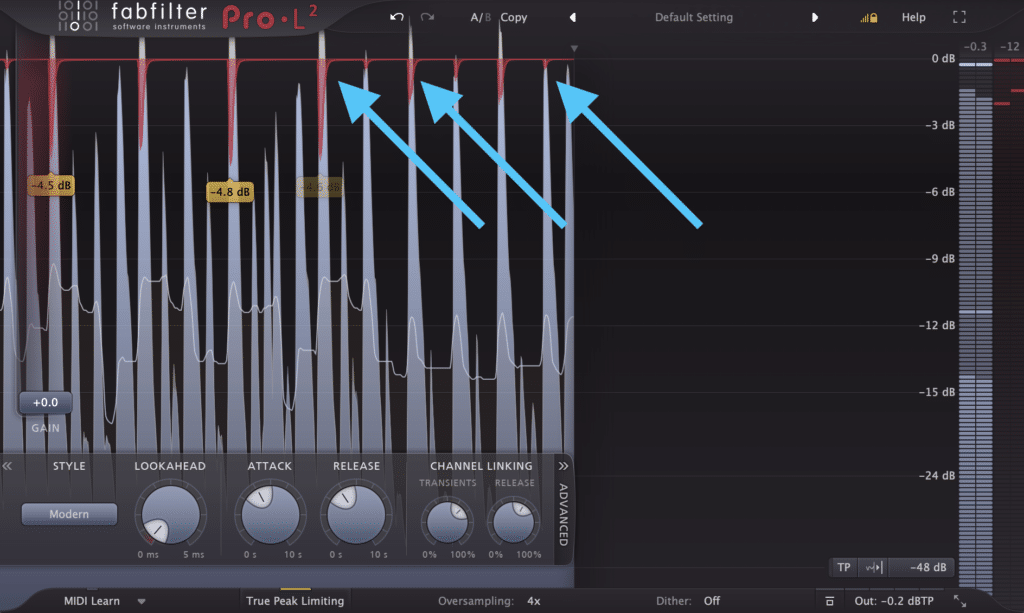
A limiter can be used to control the peaks of a signal. In the case of a vocal performance with a wide dynamic range, it can catch some of the peaks of loud notes.
Although you should generally avoid any form of heavy compression directly on a recording, gentle use of limiting can sometimes be useful (see below).
Group Bus Limiting
When sending multiple inputs into a bus channel, the output volume can quickly get out of hand.
A limiter can therefore act as a peak controller to keep things under control. Adding a bit of gain can then help you bring out the quieter parts of your bus group, gluing gently the elements together and improving your overall mix.
Sound Design Safety
Less common but just as useful, a limiter can also be used as a safety measure.
If you’re doing some crazy neurofunk sound design, you might want to place a limiter at the end of your chain, just to make sure you don’t blow your ears out inadvertently while adding your fifth OTT to the effects chain.
If you are experimenting with “breaking” sounds with multiple layers of distortion and EQ’ing, a limiter can come in handy to keep the levels down and discover quirky artifacts.
Recording
Heavy compression should generally be avoided when recording (unless you know what you’re doing). The reason is that the loss in dynamics resulting from the compression will be printed to audio and can never be recovered.
However, some gentle limiting on a guitar or vocal recording can help avoid the signal going “into the red” and clipping. Although it’s best to avoid it in the first place, this is a nice second layer of safety.
Note that if your signal is constantly going over 0db during your recording, the issue probably lies in your input gain being set too high. A limiter should only be used to catch those occasional peaks above 0db.
The Best Limiter VST Plugins (Free and Paid)
Most DAWs provide their own limiter stock plugin. Often this option will suffice for any producer who wants to get more familiar with one.
Below is a list of some of the best free limiter plugins, and some more advanced options.
FL Studio Fruity Limiter (Free)
FL Studio’s stock limiter, which was used as a guide in this article. A great place to start, as is the case with a lot of other FL stock plugins.
The visual aid comes in especially handy if you are still new to limiting, as it shows you the exact impact it’s having on your signal.
Key Features:
- Simple and intuitive graphic interface
- Choice of 8 attack and release curves (from immediate to slow)
- Built-in compressor which can be used for sidechaining
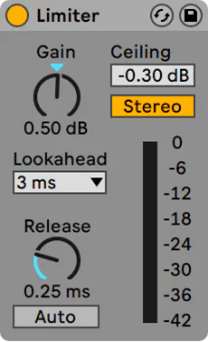
Ableton Live Limiter (Free)
Despite lacking a visual interface, Ableton’s stock limiter gets the job done. Note that it’s not available in the Lite edition of Ableton.
Key Features:
- Minimal interface
- Stereo or L/R mode, enabling independent limiting for the L and R channels
- Auto mode selects the most appropriate release time by analysing the incoming signal
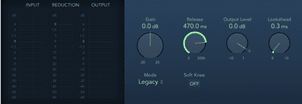
Logic Pro Limiter (Free)
Logic’s stock limiter comes with the classic clean interface you would expect from Apple.
Key Features:
- Graphic interface allowing to see how much gain reduction is being applied
- 2 modes are available, Legacy and Precision (for hard limiting)
- Soft Knee option for smoother effect
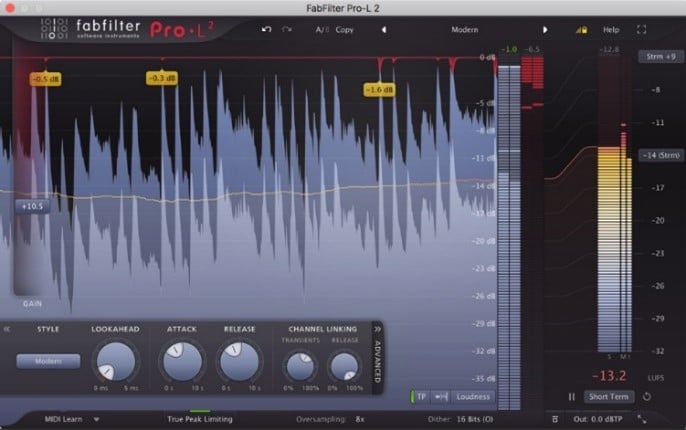
FabFilter Pro-L 2 (Paid)
The FabFilter suite of plugins needs no introduction, with much of their offering becoming industry standards such as the Pro-Q 3 equalizer.
Key Features:
- Audition option, to listen to the delta signal and hear what is being removed
- Wealth of presets to choose from
- 8 different limiting algorithms, ranging from Punchy to Safe
- Channel linking allows for independent limiting of the L and R channels
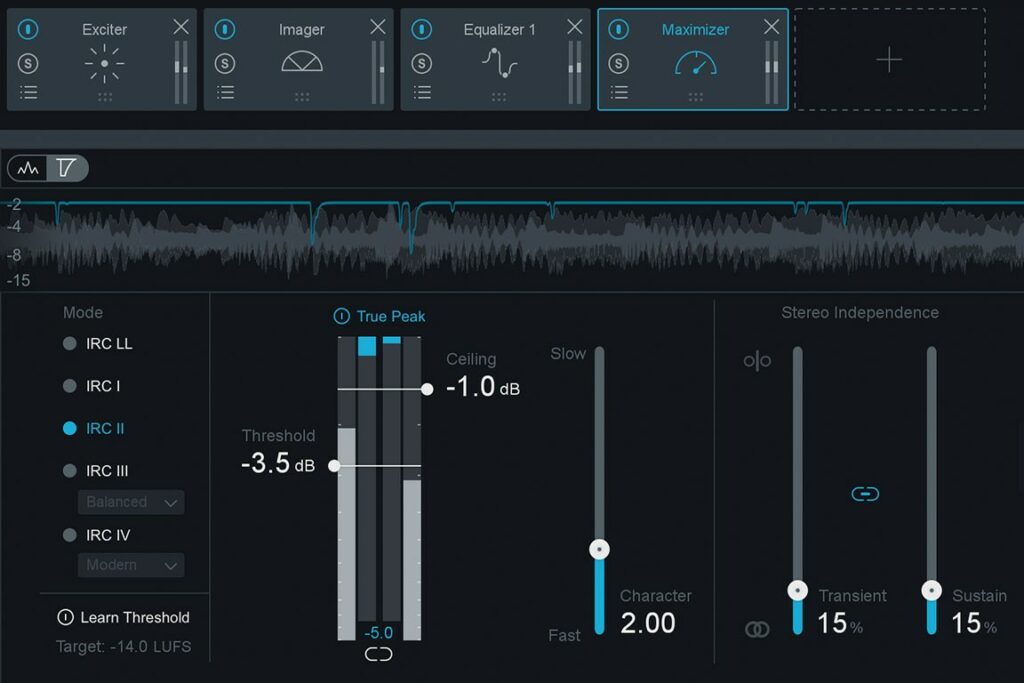
iZotope Ozone 9 Maximizer (Paid)
Ozone’s Maximizer is one of the other commonly used limiters in electronic music. It can push things loud while still sounding super clean, especially with the IRC IV Modern setting.
Key Features:
- True Peak limiting to avoid inter-sample aliasing
- Stereo transient and sustain linking and unlinking
- Learn Threshold to target LUFS value
- Character control to adjust behaviour with just one knob
Waves L3-LL Multimaximizer (Paid)
The last shout goes out to Waves with its L3-LL multiband limiter. Don’t be fooled by the slightly outdated interface, this one packs a punch.
Key Features:
- 5-band limiter, allowing for more advanced and precise results
- IDR section controls the bit depth, dithering and noise shaping
- 9 different profiles, ranging from Loud & Proud to Extreme Analog
It should be noted that many other plugins could have been mentioned here.
Because limiting is a standard step in the mastering chain, higher-end plugins such as the Waves Abbey Road TG often incorporate it within a whole suite of other effects.
Final words and tips
Hopefully, you will now have grasped the fundamentals of a limiter and how to use one.
Before we let you go, make sure to check out these last few tips and tricks to get the most out of your limiter:
- As with most plugins, start with factory presets, and adjust based on taste
- Make sure to gain match your processed signal and your initial signal when you A/B test. Louder will often trick you into thinking it sounds better
- For reasons that go beyond this guide, limiters tend to affect more the low-end of a signal, so pay attention that you’re not losing too much bass
- Similarly, limiting will tend to distort the high-end quicker than other regions, so pay extra attention to that area
- If you find yourself needing to do heavy limiting in the mastering chain and some elements become over-compressed, it might be an indication that something needs adjusting in your mixdown
Also, as mentioned before compression & limiting are very similar. So grab our free compression cheat sheet below to further your understanding!
Is compression confusing you? 🤷
Get our one-page cheat sheet containing everything to help you understand ratio, threshold, attack, release, and all of the compression parameters with simplicity.

